Just bought a new hosting plan but don’t have a domain? That’s not a problem! We’ll show you how to get one through NameCheap, our registrar of choice!
You have a few options for a buying a domain, currently we don’t sell domains but there are many great places to buy domain names at good prices! We personally use NameCheap for our registrar needs! We find them to be very affordable for majority of the domain options available, in comparison to other registrars but it’s great practice to compare prices between registrars for the domain name you are trying to buy!
What Are My Options?
Your new Domain with Namecheap in 7 Easy Steps!
Disclaimer: Our link to namecheap is an affiliate link and will generate revenue on purchases made.
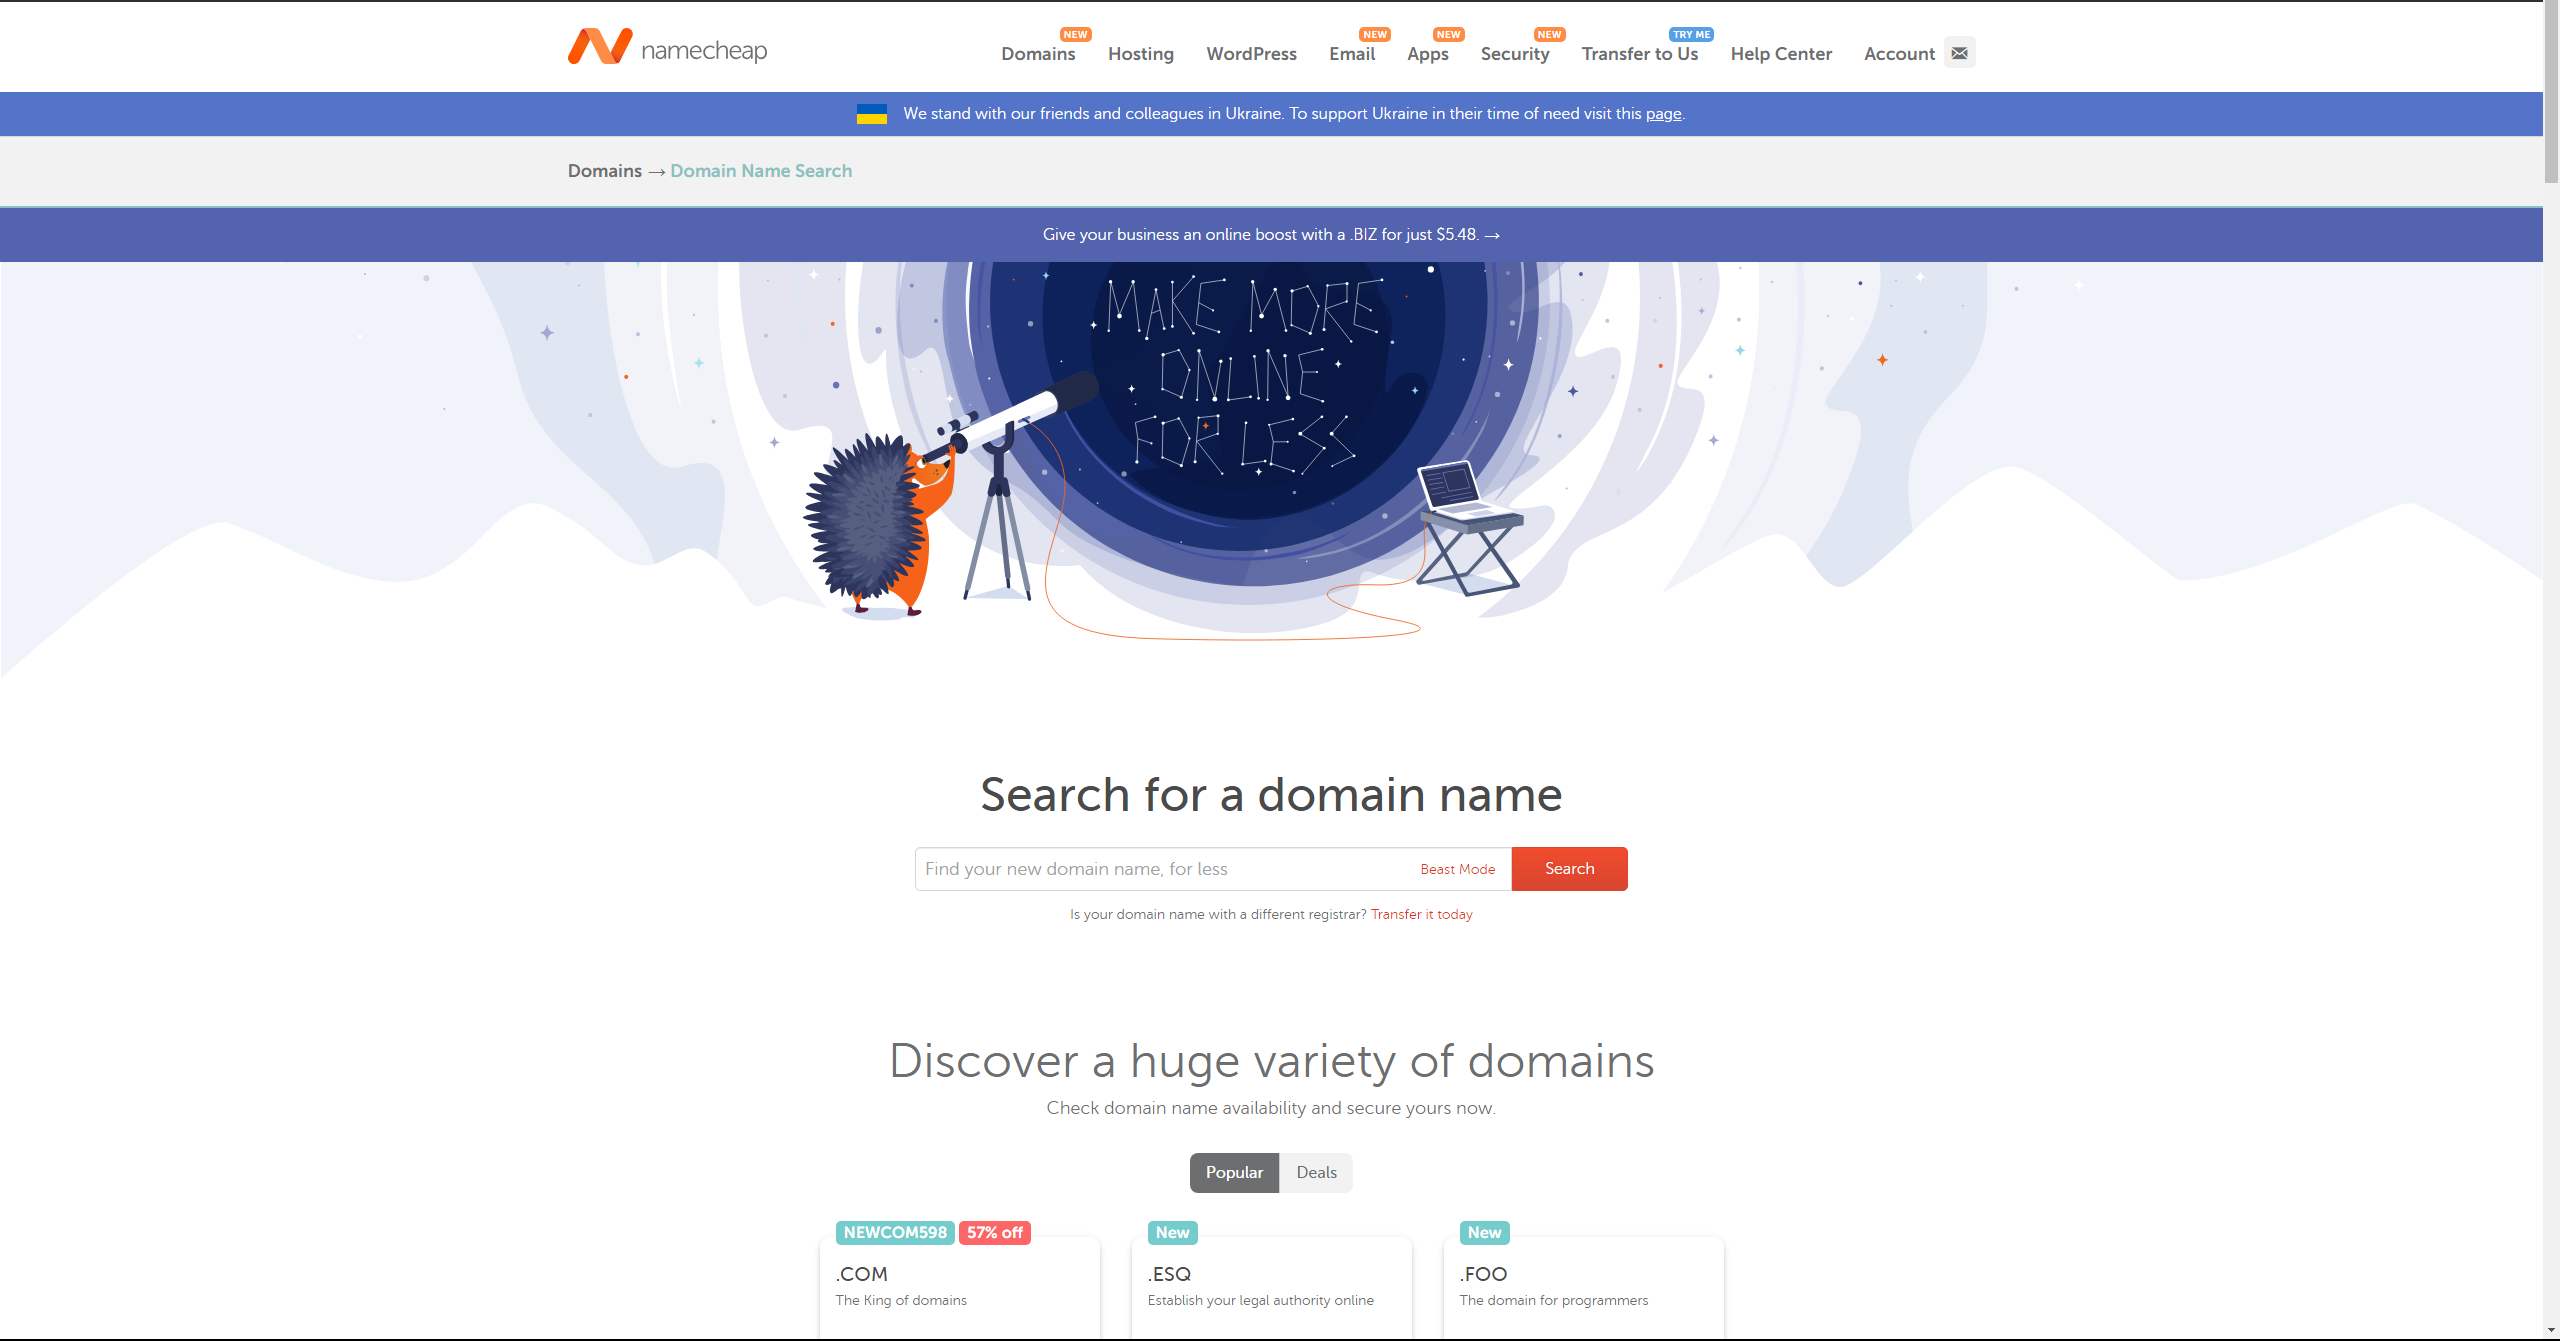
Step 1.
Click on the namecheap logo and type in the domain name you wish to have for your website, if it’s available you will see the pricing info on the following screen. If it is unavailable you will be given some suggested domain names incase those would work well for you as well.
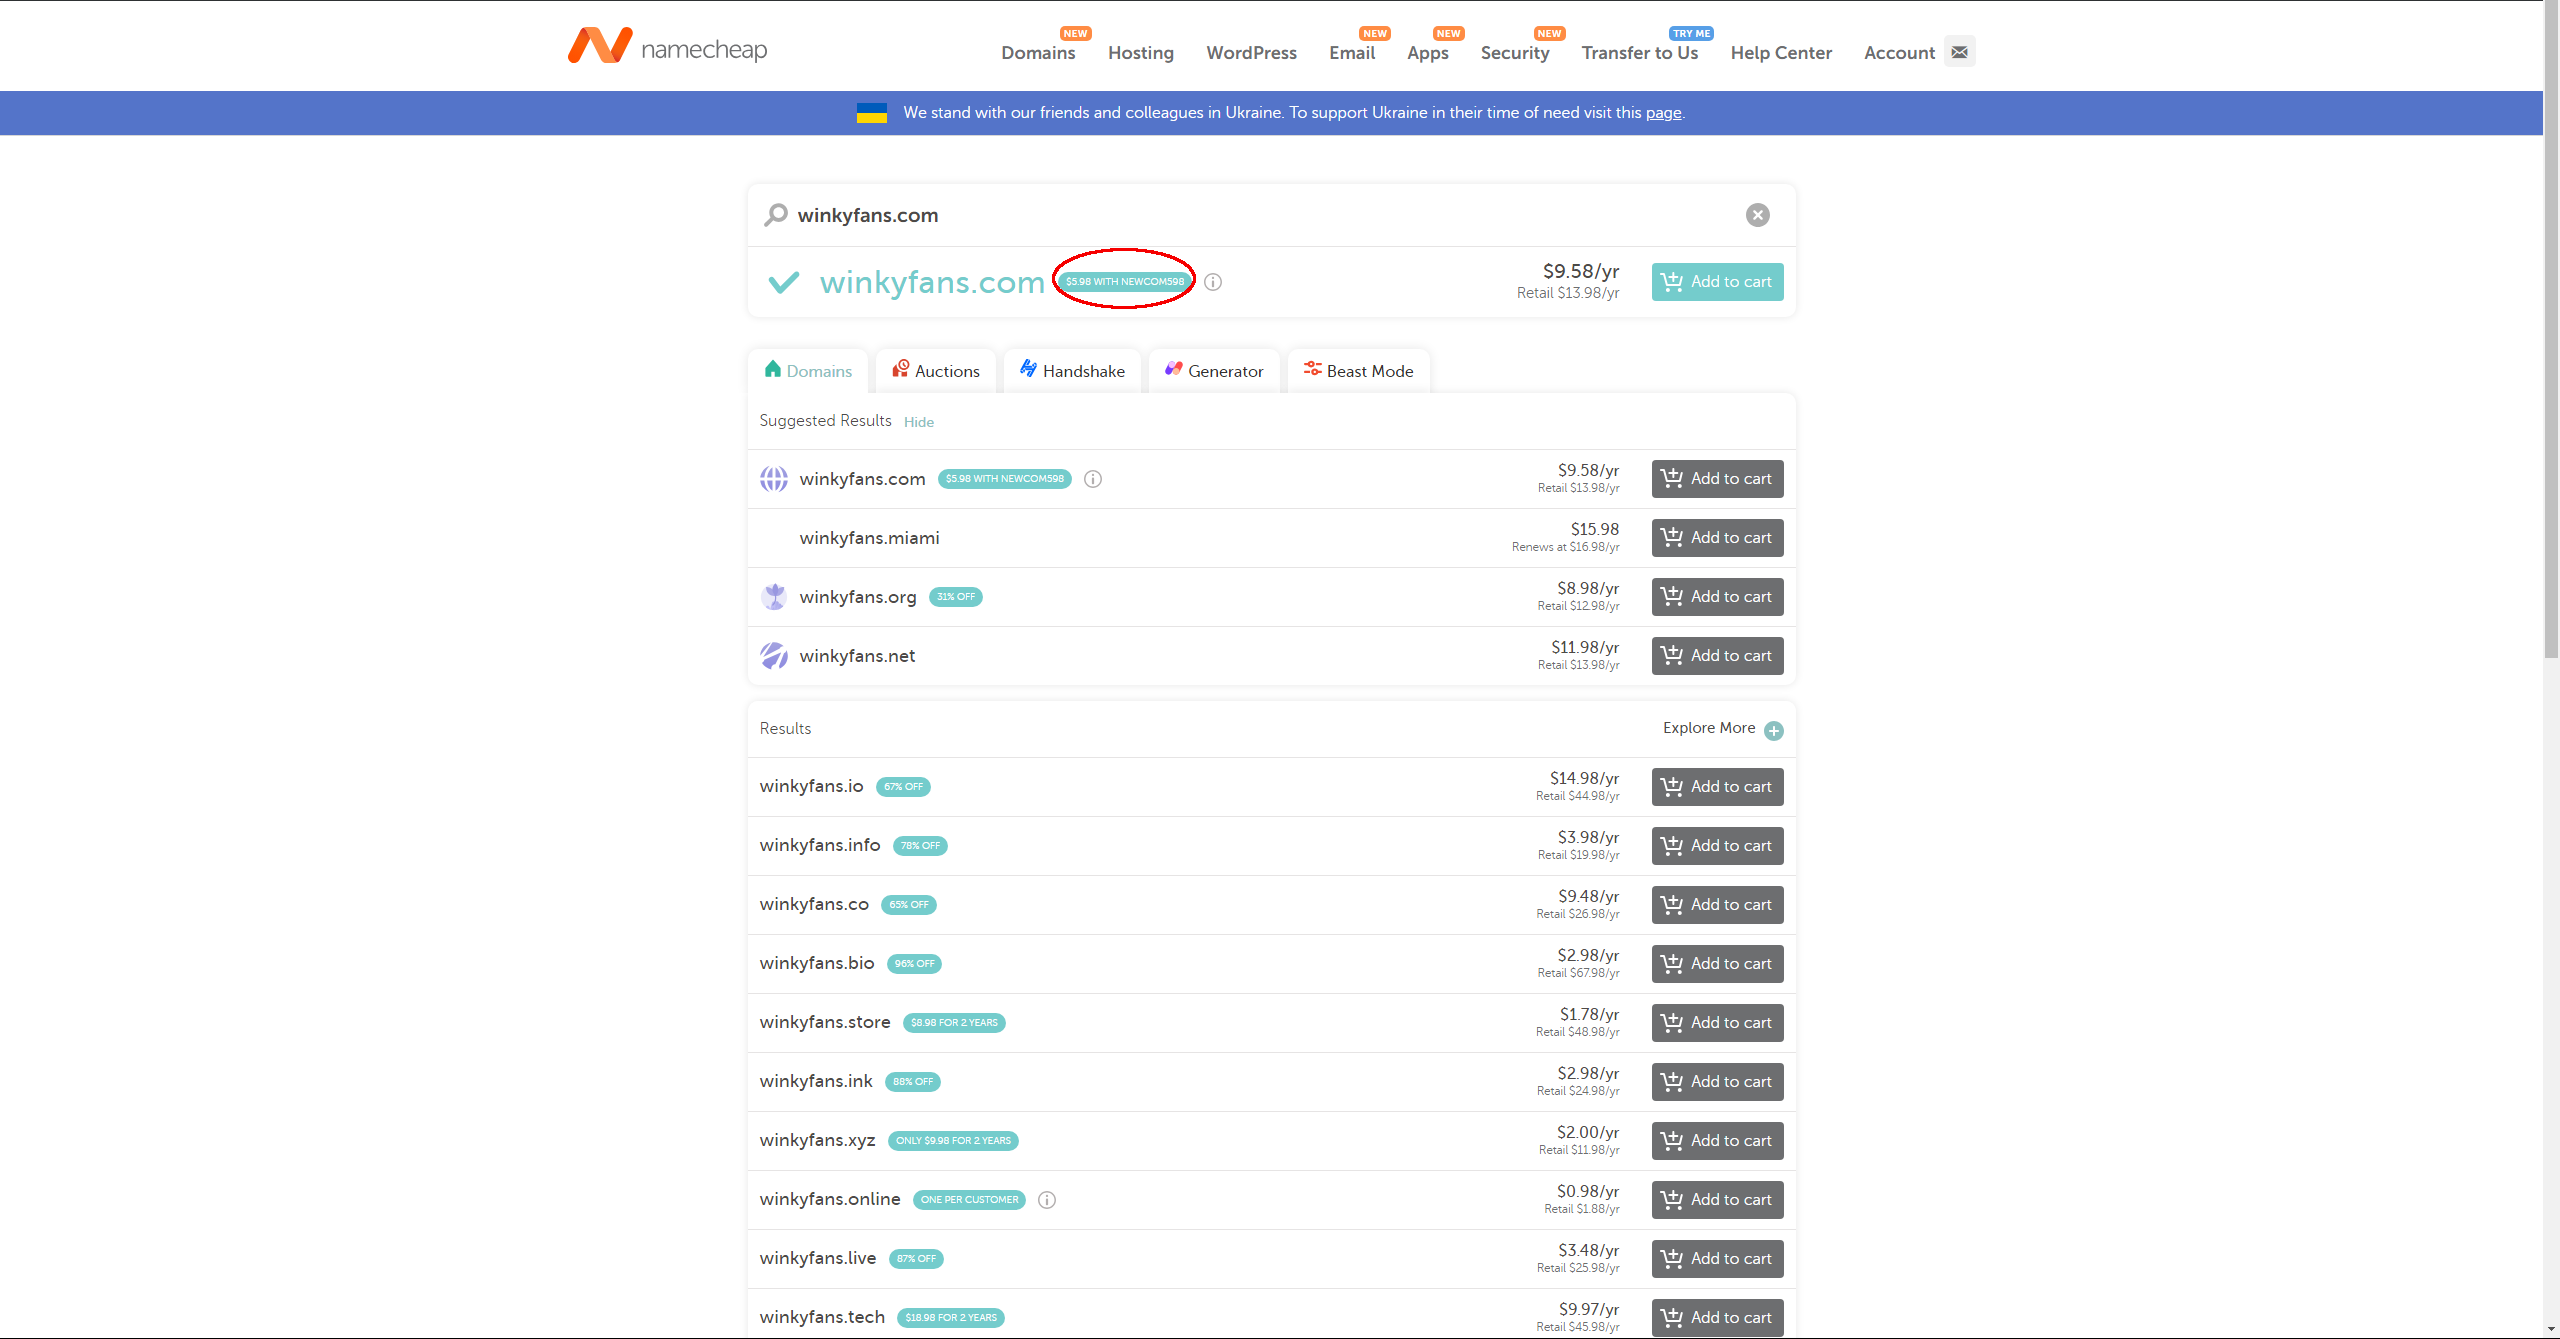
Step 2.
If your desired domain is available you will see the pricing info for it and sometimes a discount code, circled on the image here. You should copy it for the next page if there is one available to you to save money on your first year!
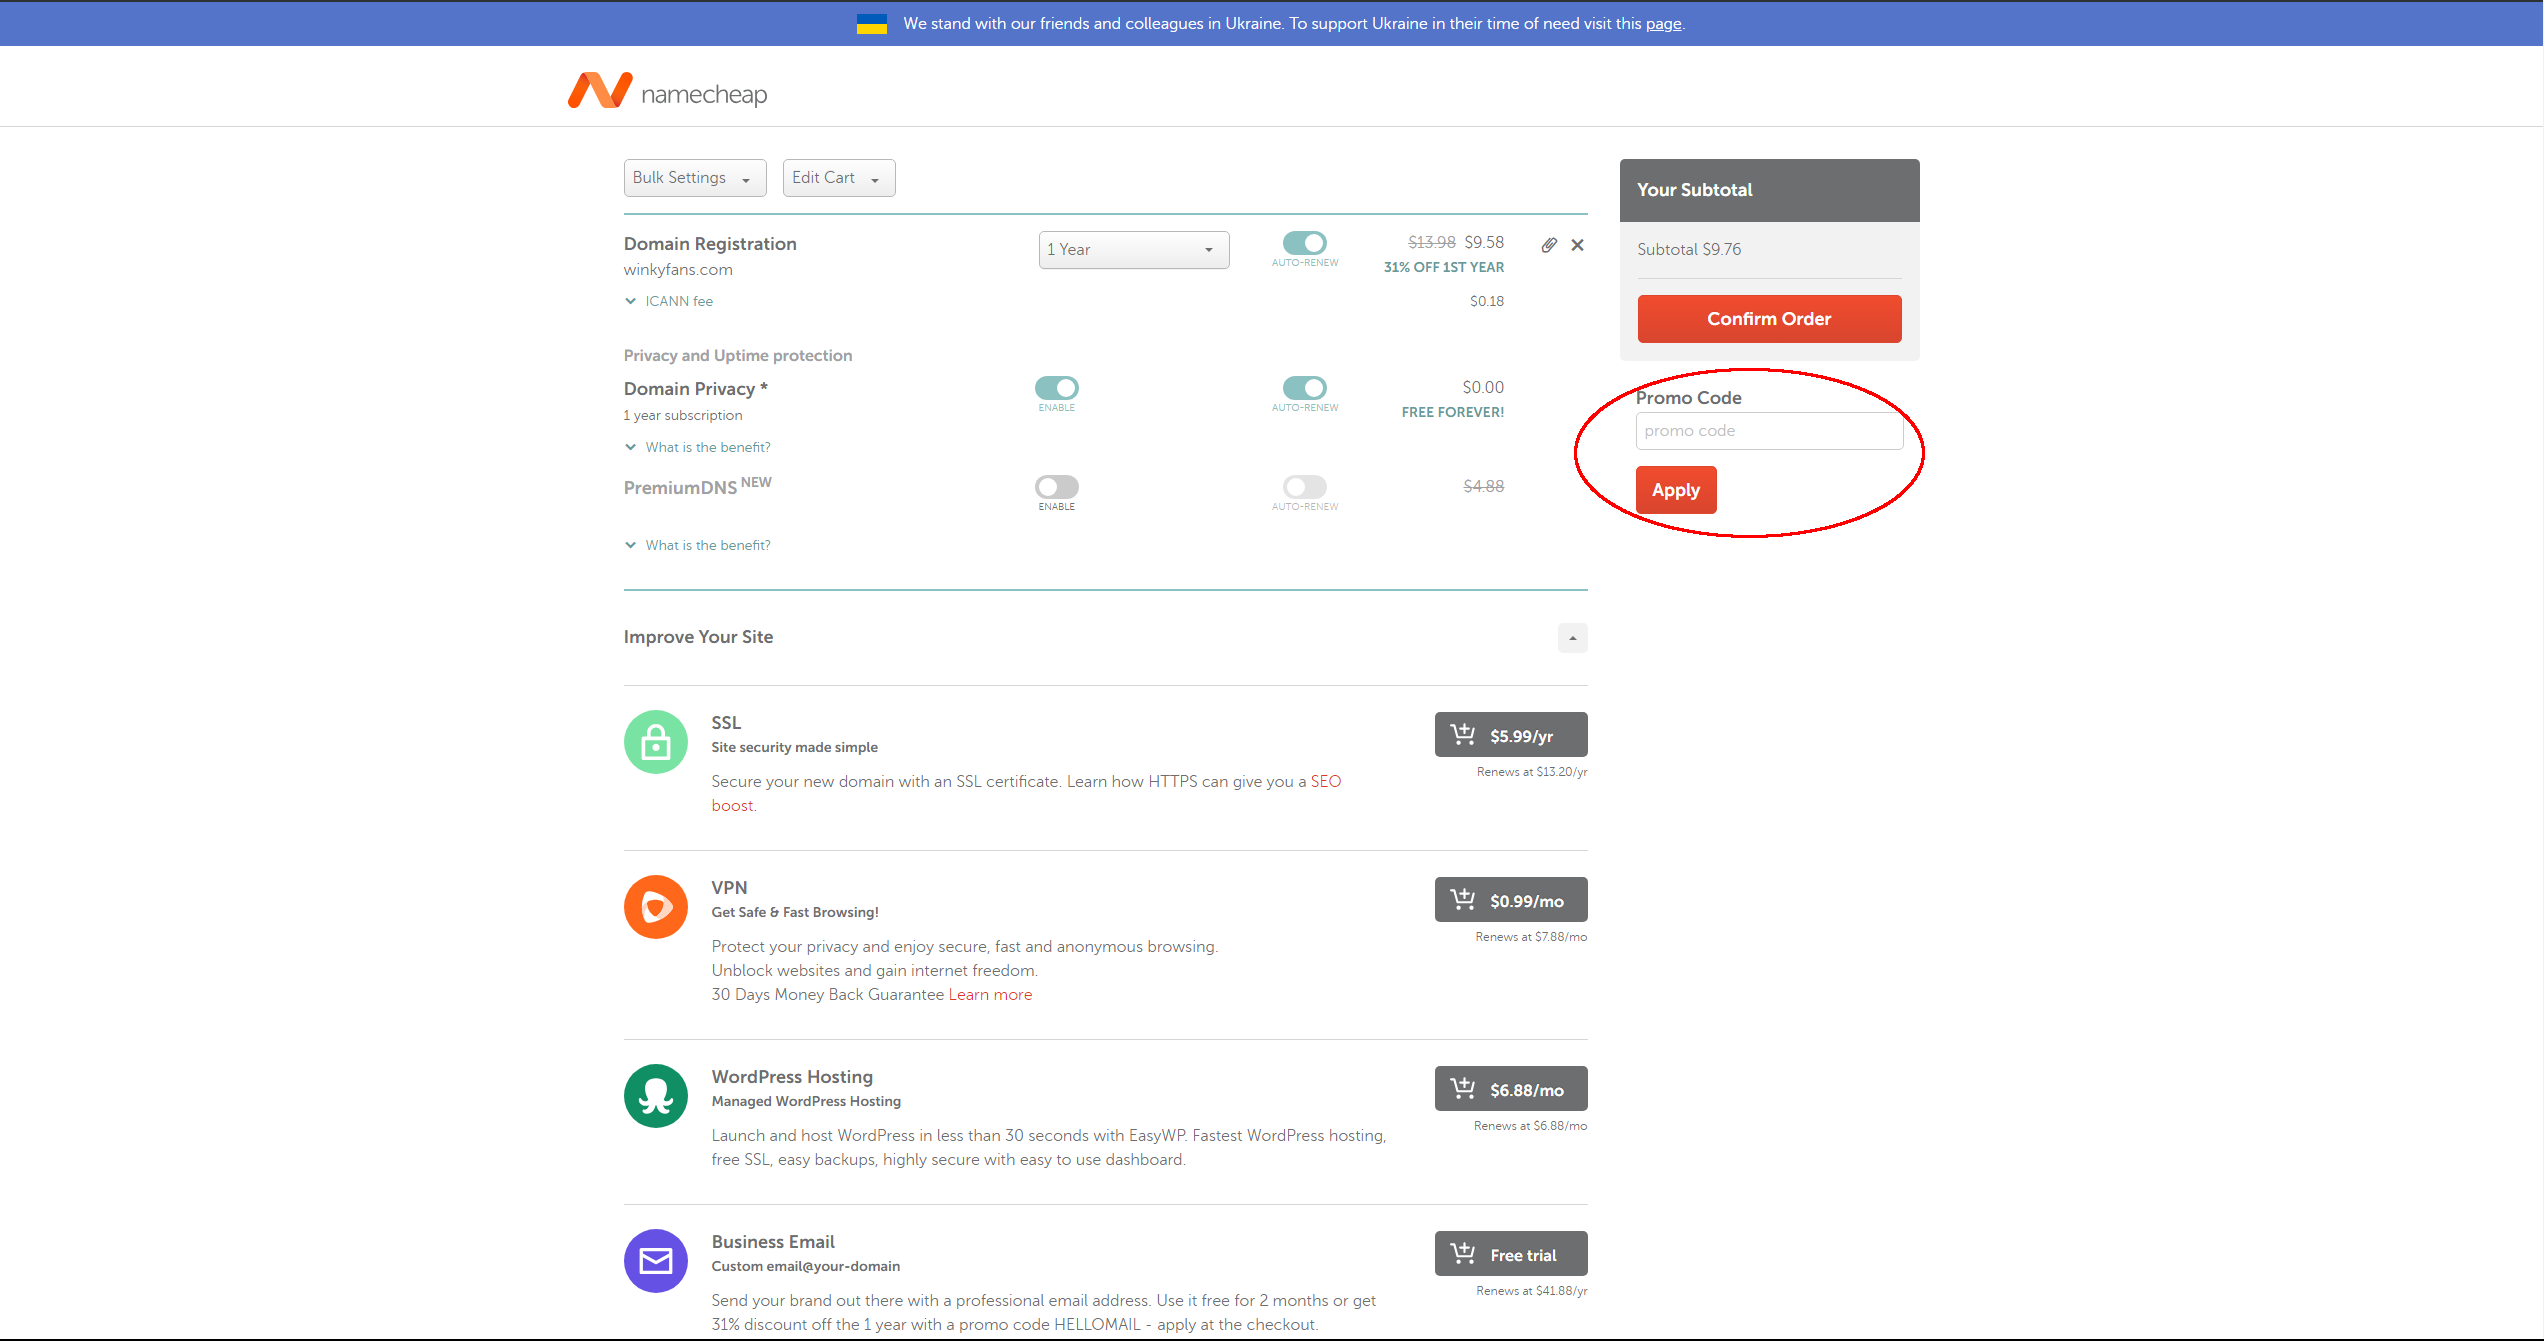
Step 3.
Type in the discount code from the prior page, you’re now ready to check out! You should also enable the Domain Privacy feature, it’s free and will keep your personal information private if you don’t wish to have public who owns the domain name.
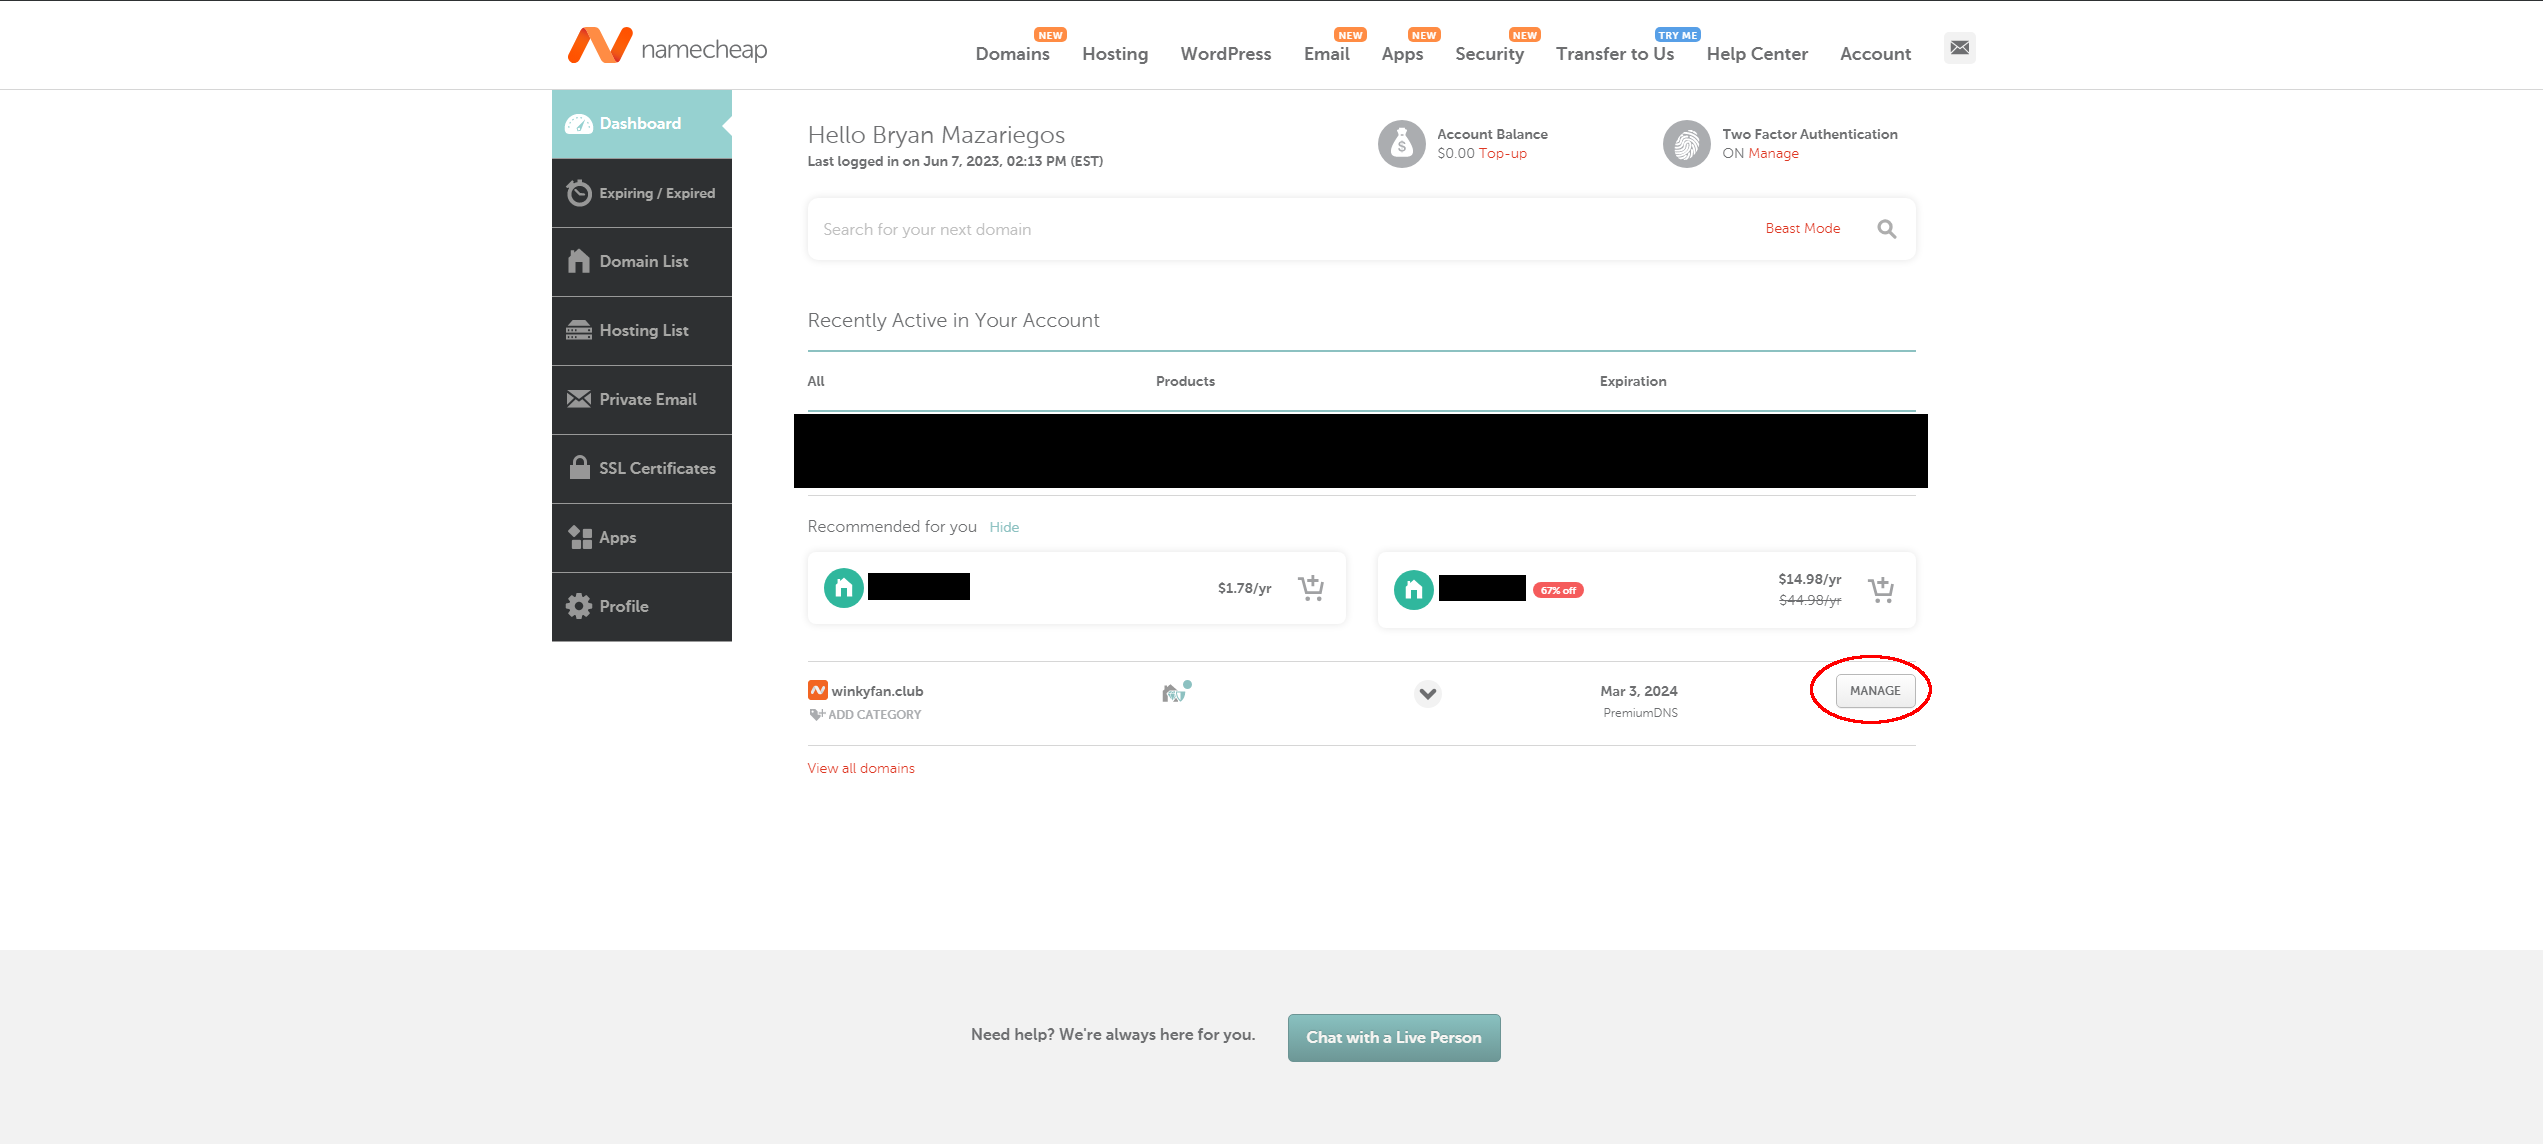
Step 4.
Once purchased, go to your account dashboard. Here you will want to press the “MANAGE” button for your new domain name!
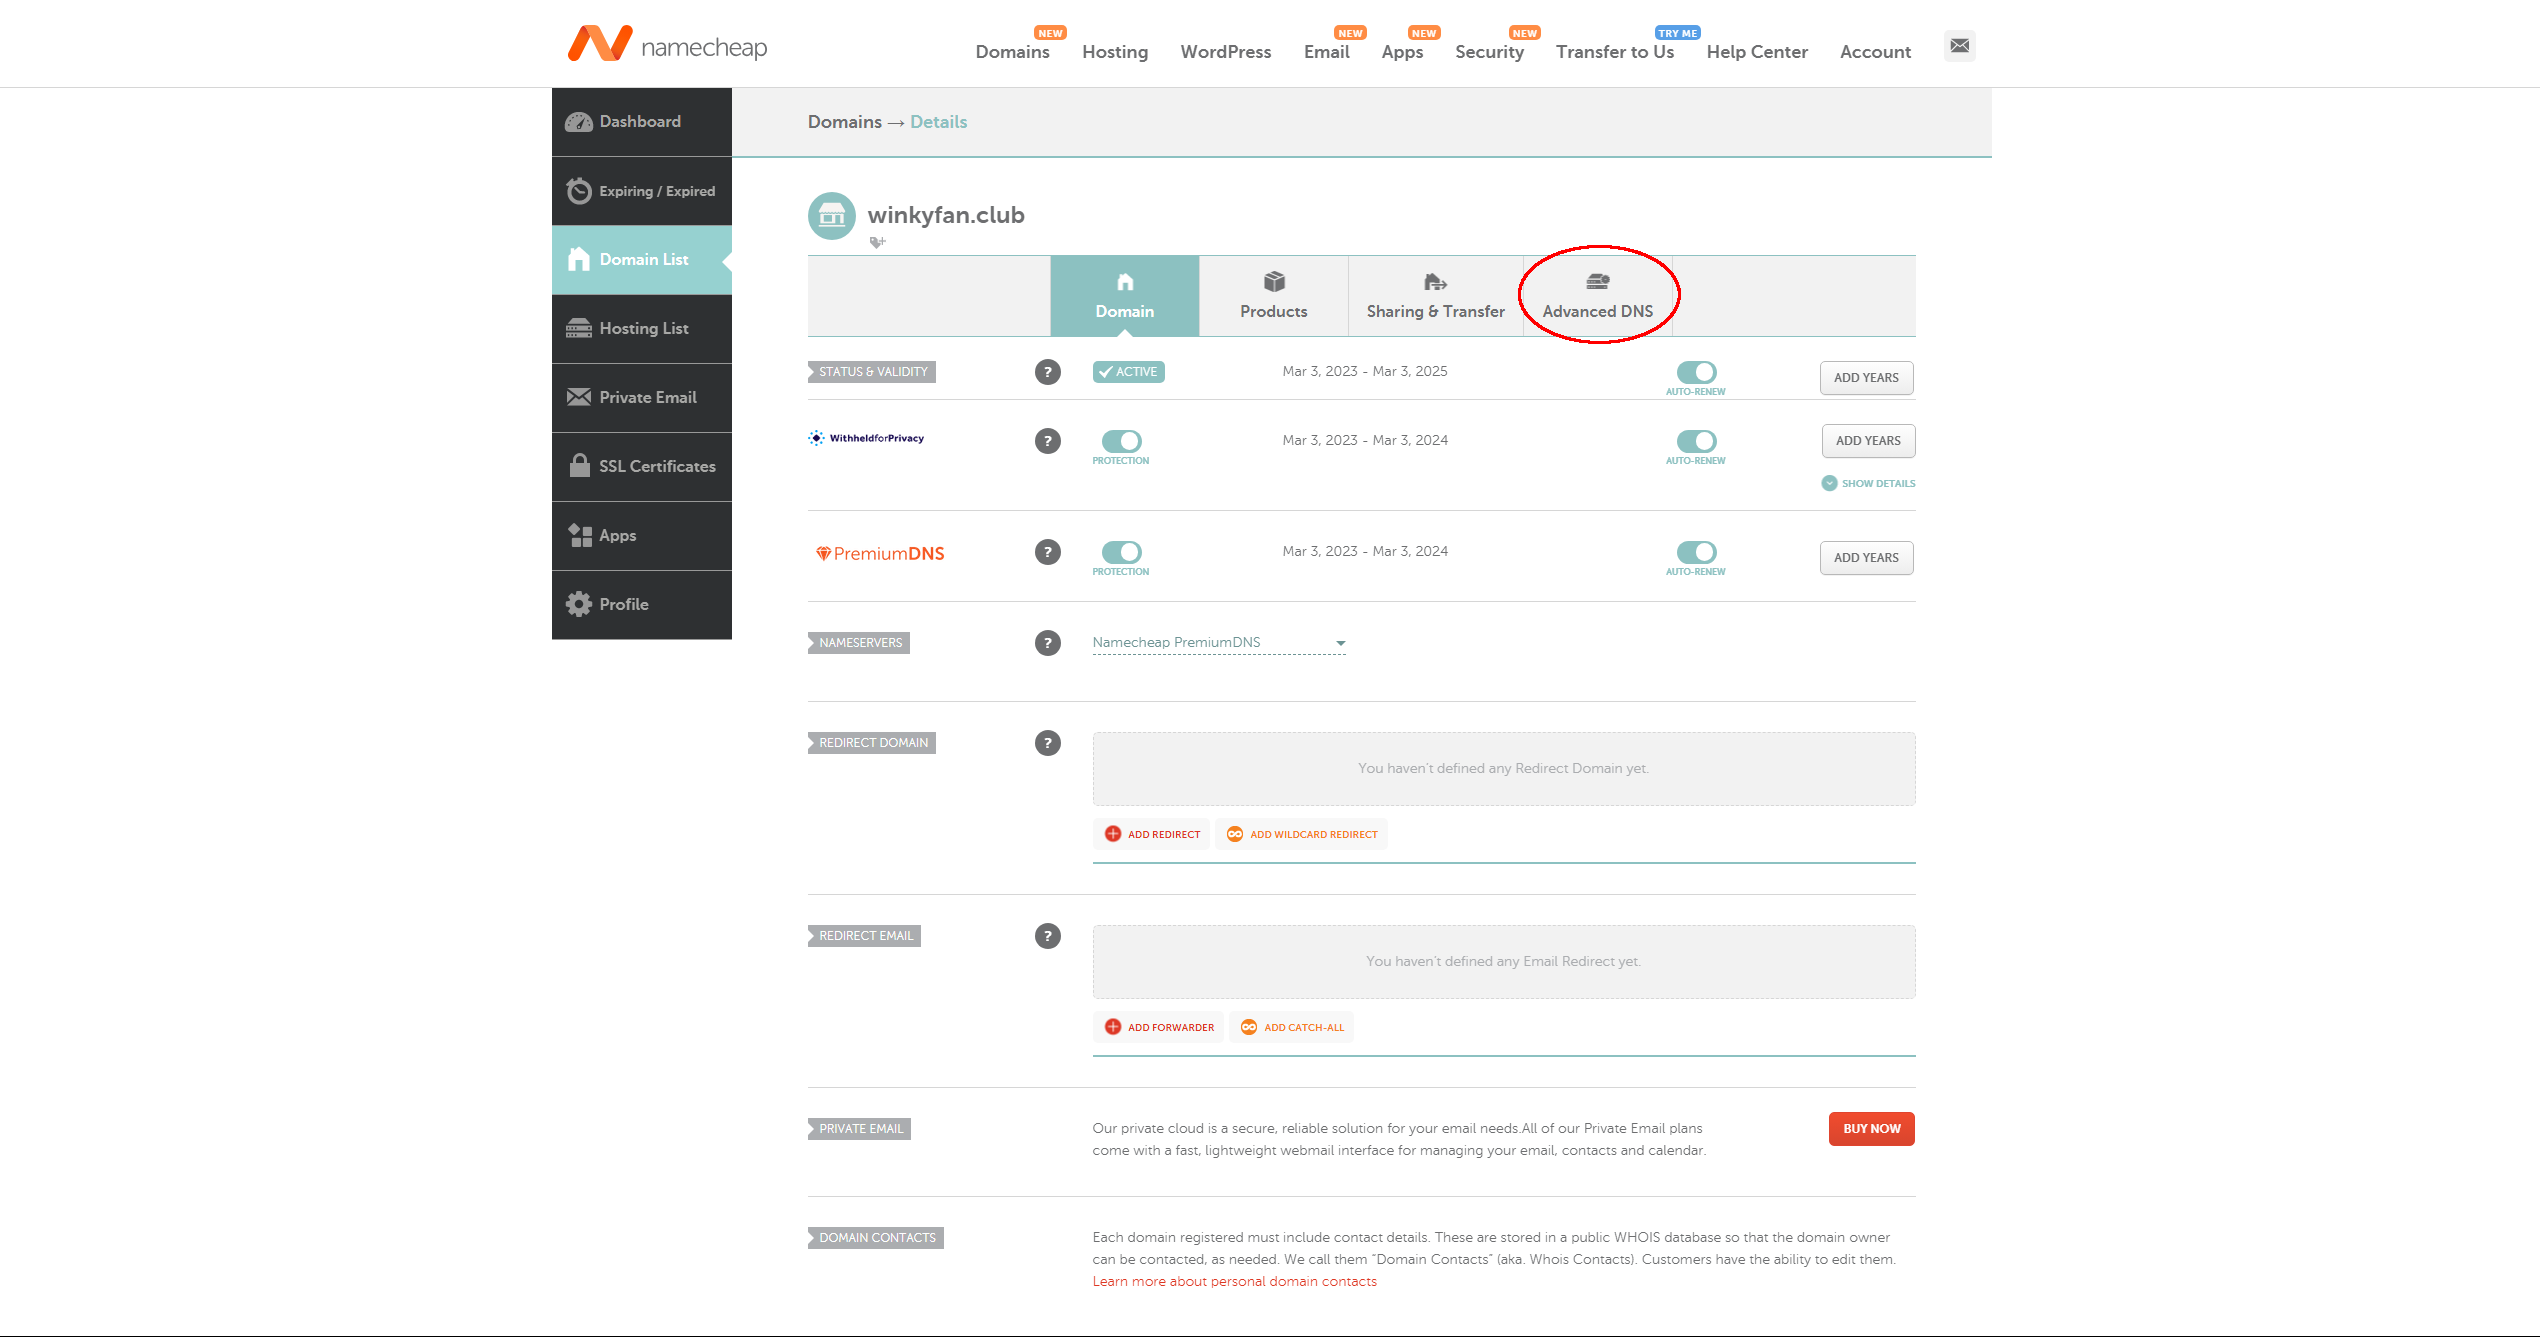
Step 5.
Then you will want to go into the “Advanced DNS” tab.
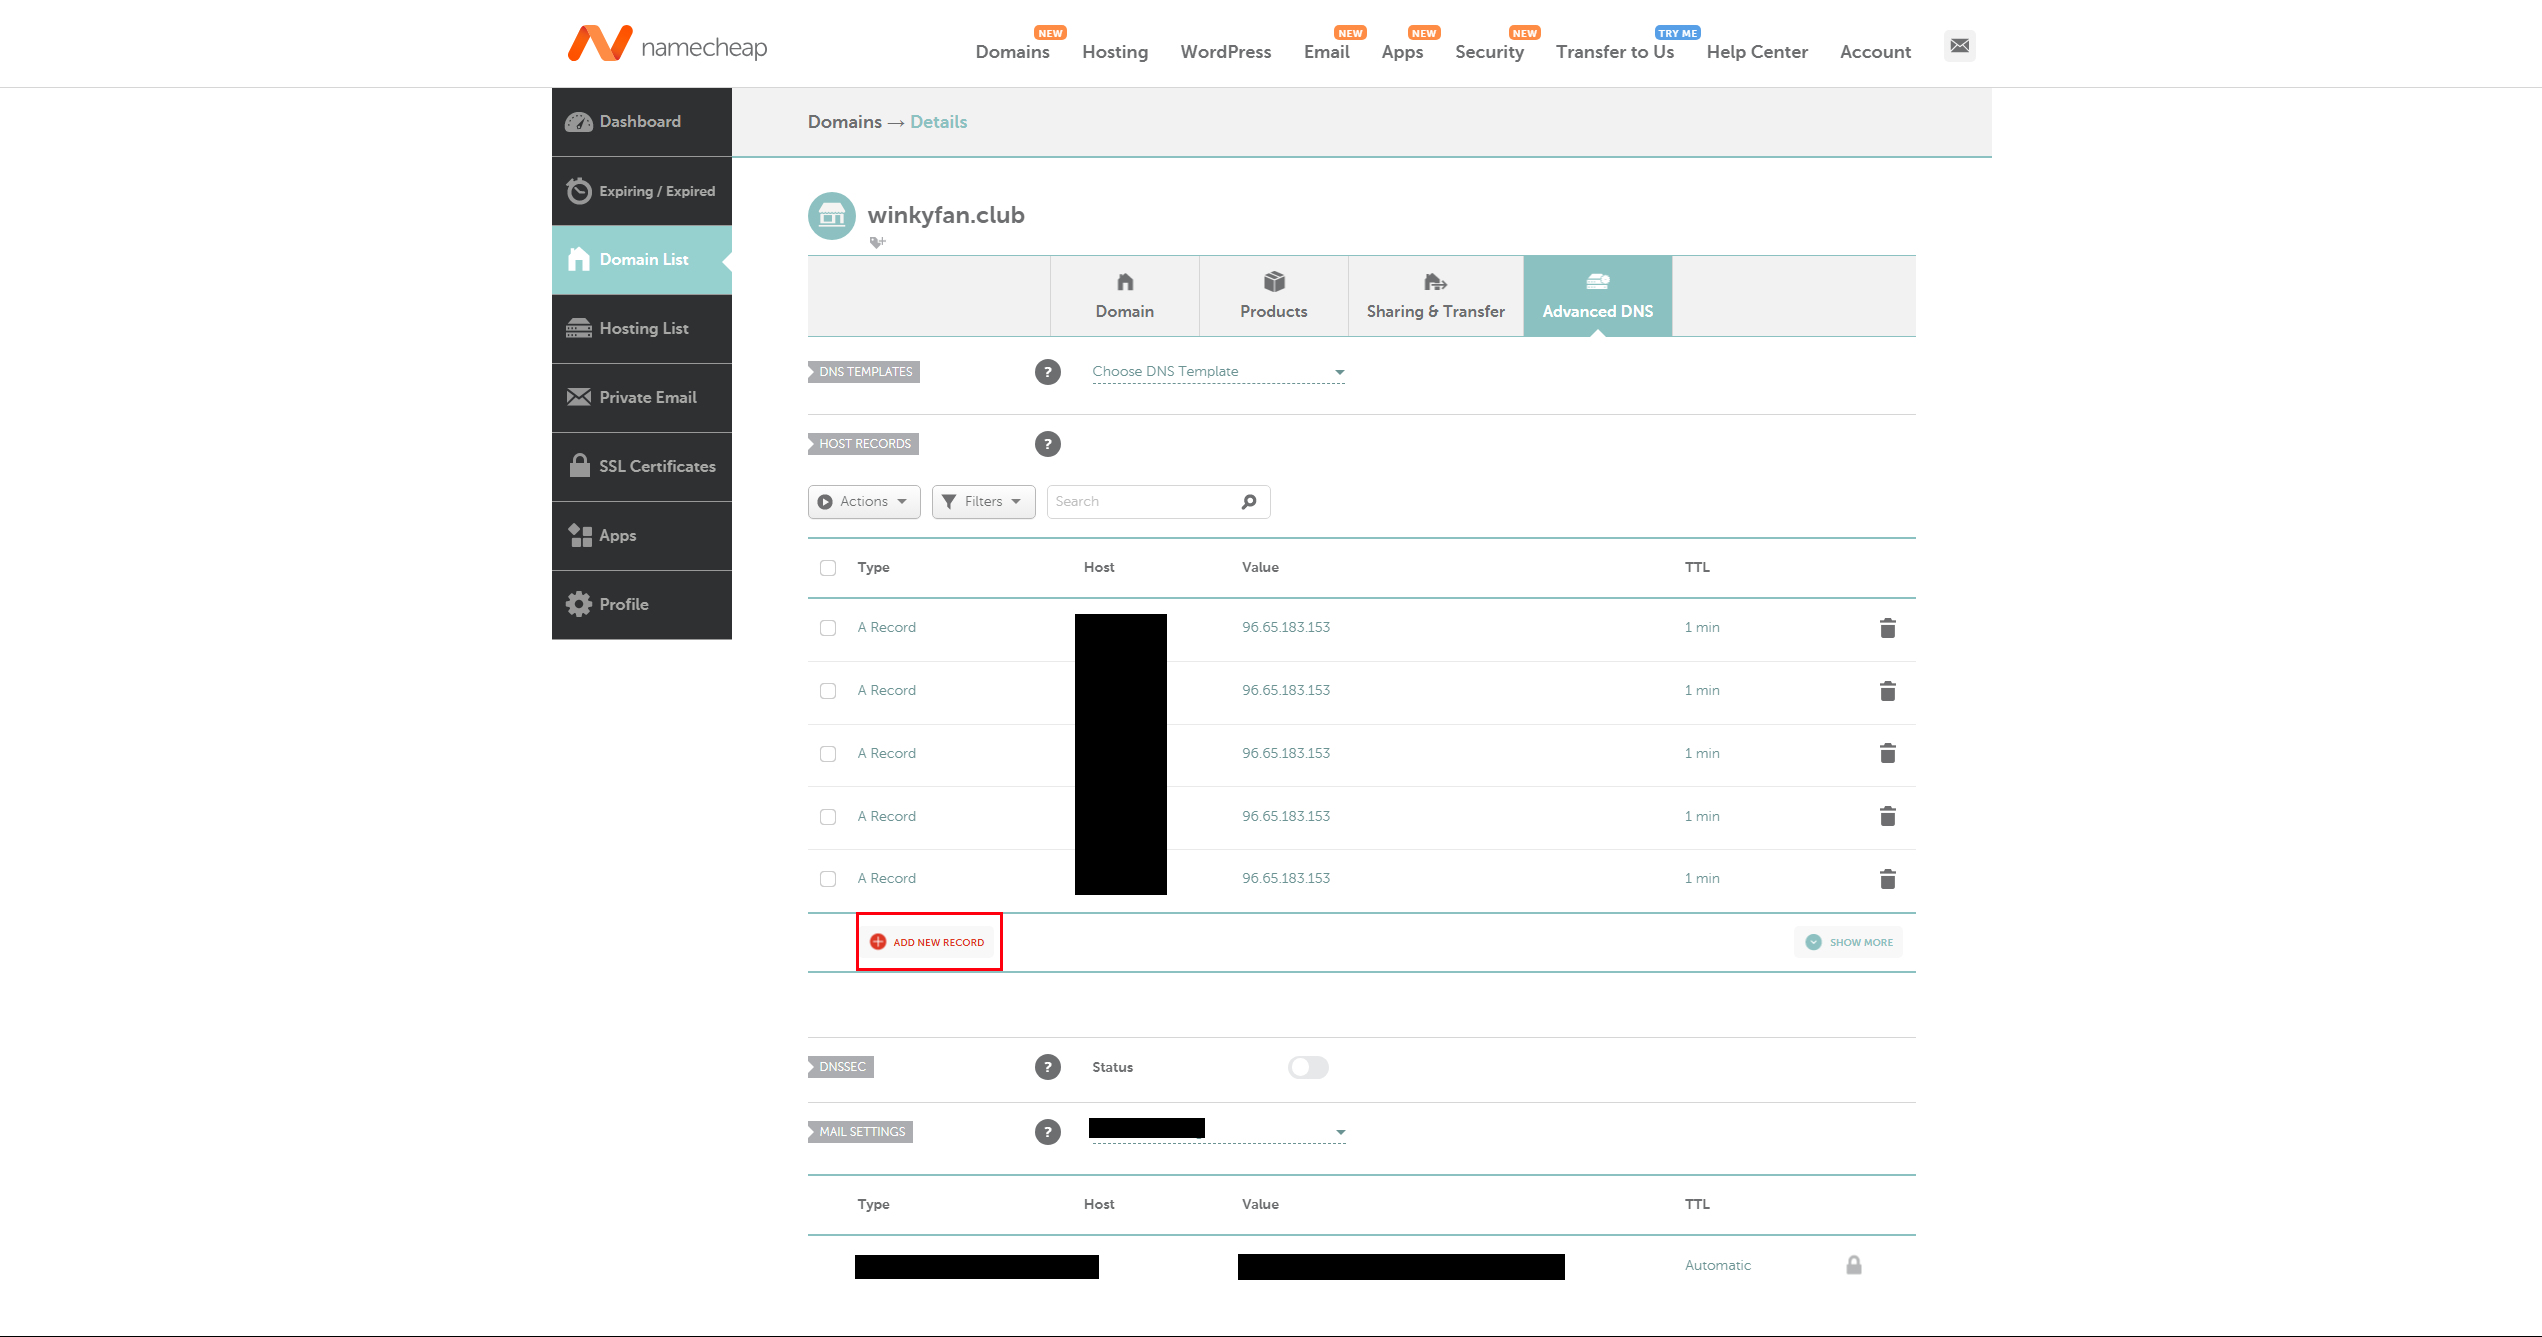
Step 6.
Inside this tab you will want to go to the “HOST RECORDS” section, this will be the 2nd section. There you will want to press “ADD NEW RECORD”. Here is where we will create a new “A Record” that will point your domain name to your actual website!
Step 7.
After Pressing “ADD NEW RECORD” you will see a row appear, similar to above. In the 1st field, select “A Record” from the drop-down list. In the 2nd field, type “@” (Without the quotation marks) In the 3rd field, type “96.65.183.153” (Without the quotation marks, you can copy paste that as well) In the 4th field, select “1 min” from the drop-down list.
Lastly, press the green check mark at the end to update your DNS Records. After 1 minute, you can return to the activation page and fill it out with your new domain name.